Good morning my lovelies,
We got some distressing news about a family member on Friday that sent me into a bit of a tailspin this weekend. After a good cry, I realised that until the test results confirmed anything it was no use getting upset. To distract myself, I got crafting.
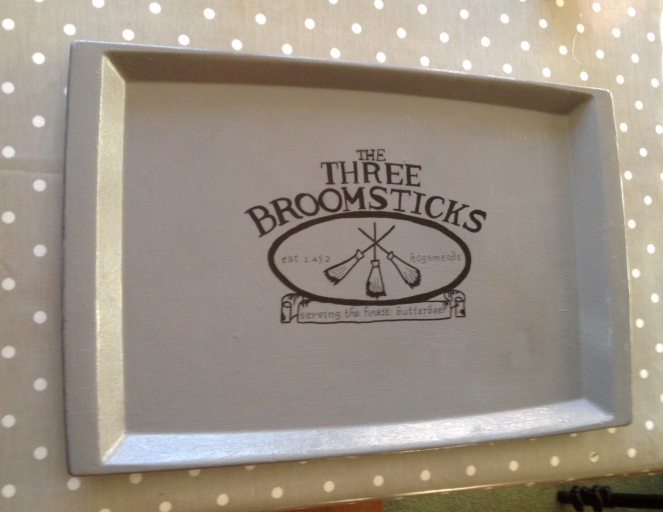
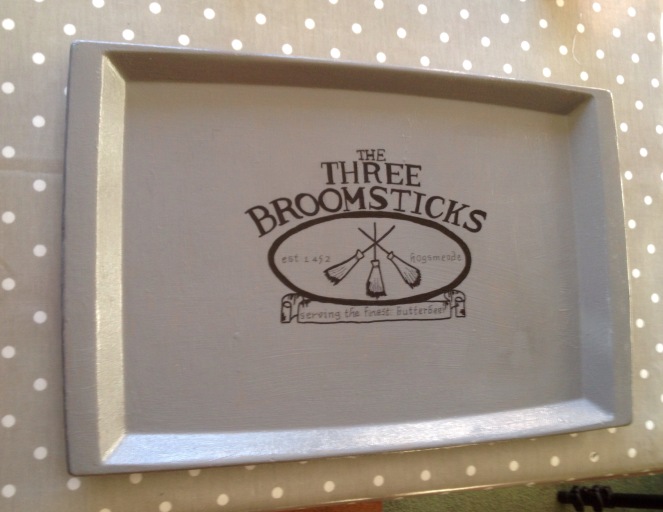
It’s amazing what you can create with a few bits that are lying around the house! We had an old wooden tray that was left behind by the previous owners of our house. It had seen better days and was crying out for a makeover. I was happy to oblige and that’s how the Harry Potter Three Broomsticks tray was born!
Here’s how I did it.
I didn’t have any special paint to use and I wanted to do this tray on a budget, using things that I already had around the house if at all possible.
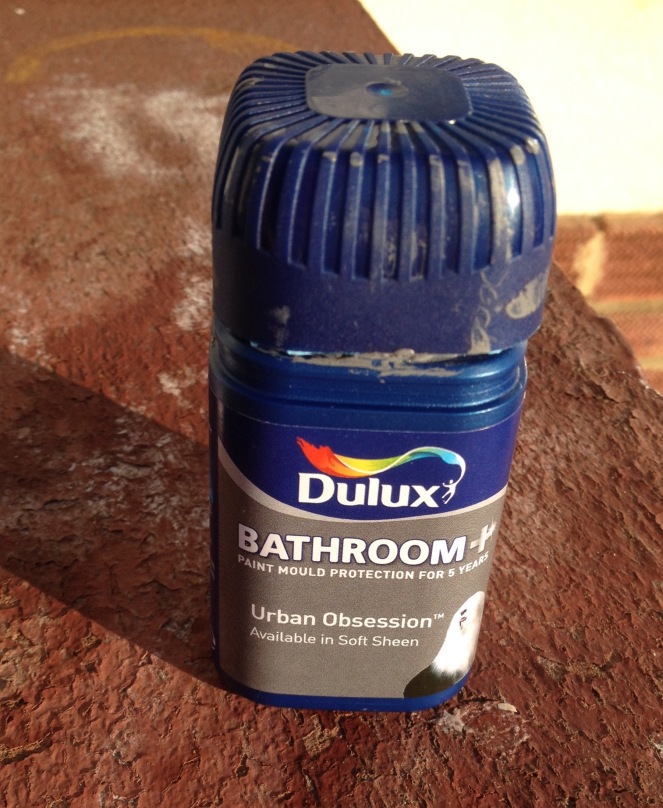
We had bought a few paint samples for our bathroom and when I remembered this pot of Dulux Bathroom paint in Urban Obsession I knew it would be perfect!
First things first, I gave the tray a good wipe down to remove any grease. Then I sanded it lightly with some lightweight sand paper. On the back and front.
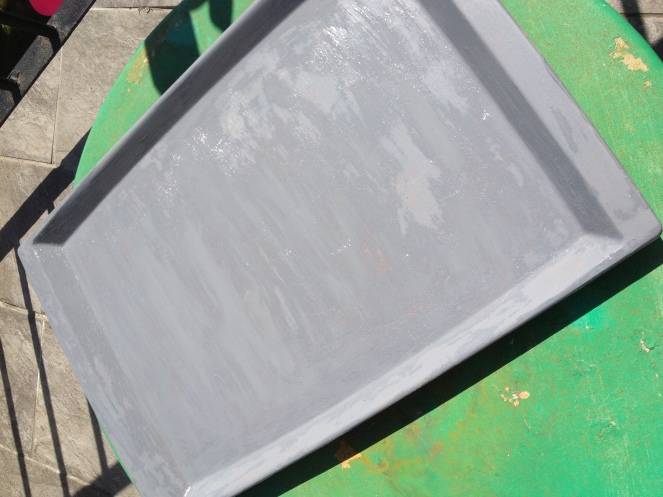
I then painted the top with the Urban Obsession. A little goes a long way with this paint and I didn’t mind if it looked a little rustic. After painting, I set it out in the sun to dry.
Once it was dry, I painted the other side and allowed it to dry.
I printed off the logo for the Three Broomsticks from the internet and using a pencil, I went over the outlines of the writing of the logo quite thickly. It’s worth remembering that you will need to print it back to front using a mirror effect. In other words, flip the image horizontally so that when you transfer the image onto the tray it will be the right way for reading.
I then measured where I wanted it to be positioned on my tray and used tape to stick it, face down (image side down). I then used the pencil and coloured in, quite hard over the page where I had outlined the letters. This meant that the pencil outline would transfer to the tray.
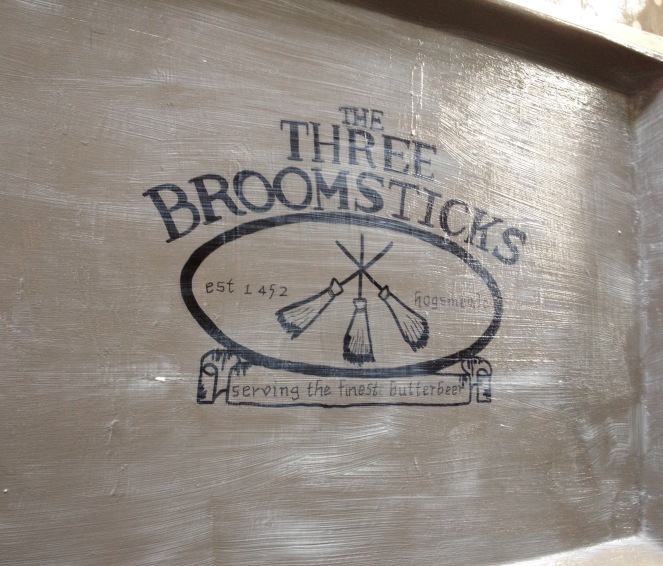
I then went over the pencil transfer with a sharpie and another permanent marker with a thin nib. When I was happy with the effect, I made sure it was dry then started to Modge Podge to seal it.
I gave the tray four coats of Modge Podge allowing it to dry thoroughly before each coat. I did one coat horizontally, the next vertically and so on until I had four coats done.
Once the front was sealed, I did 4 coats of modge podge on the back in the same way as before.
Et voila!
Now to get my hands on some butter beer mugs.
Bright blessings,
Mama R
x

I am in love with this tray – just gorgeous!
LikeLiked by 1 person
Thank you!
LikeLike
That turned out great! 🙂 Thanks for sharing!
LikeLike
Thanks! I was quite surprised it worked out since it’s the first time I’ve ever done painting/up cycling.
LikeLike
Thanks x
LikeLiked by 1 person